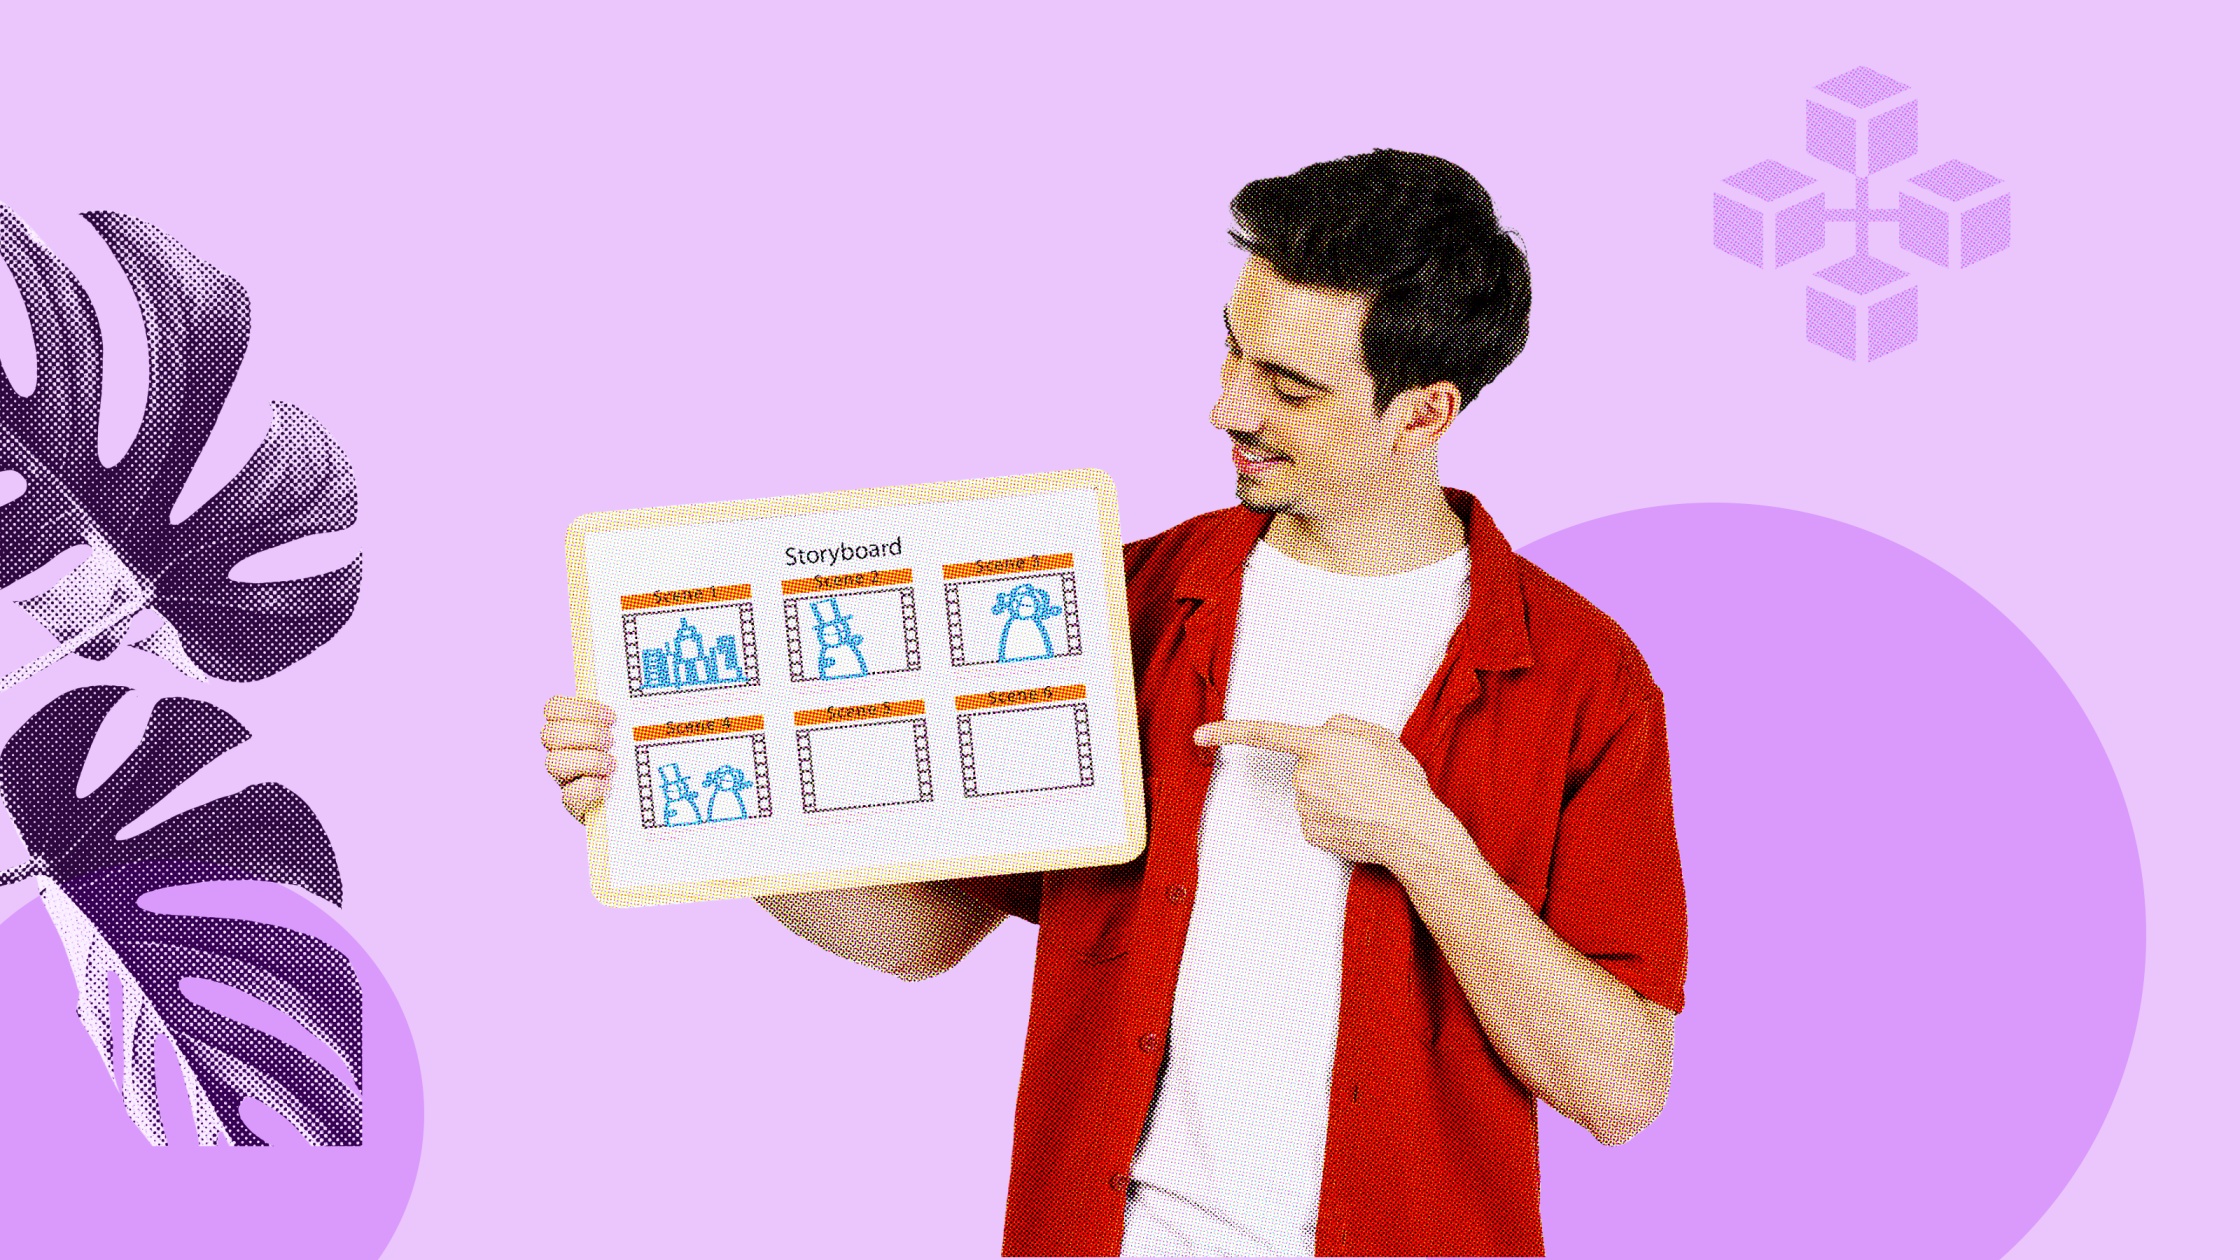
Did you ever see a video that was so captivating that you replayed it several times? What was it that you found so mesmerizing? The camera angles, high-quality images, the creative narration style, or the color schemes? All these vital details for video production are decided via storyboarding, a process that allows directors to collect and organize different ideas and inspirations in one place to help them visualize the final product.
What is a Storyboard?

A storyboard is a graphical representation of the key scenes in a video. Directors and video producers typically use them for mapping out a video’s critical points before filming begins. Storyboards can be created using a variety of software programs, or they can be hand-drawn.
Why Build A Storyboard?
When planning a video project, it is essential to storyboard to communicate your vision to the team and ensure everyone is on the same page.
Creating a storyboard before production begins allows you to plan your video to determine what shots are needed and how they will fit together.
This saves time and money in the long run as you will not have to shoot footage that is not needed. In addition, it makes it easier to communicate your ideas to the team, as they can see exactly what you have in mind.
Creating a storyboard may seem like extra work, but it will save you time and frustration in the long run. It is an essential tool for any video project, big or small.

Elements of a Storyboard
A storyboard is a vital tool in video production, helping to plan shots and transitions between them. Here are the elements of a storyboard:
- Panel: A panel is a single frame within a storyboard. It contains all of the elements of a shot, including the shot type, transition, action, dialogue, and annotations.
- Shot types: There are four basic shots used in storyboarding: close-up, medium, wide, and extreme close-up.
- Transitions: Transitions show movement between different shots and help to tell the story.
- Action: Action is what happens within each shot. It should be clear and concise, and easy to understand at a glance.
- Dialogue: Dialogue is the spoken word within a shot. It should be easy to read and understand and match the action on screen.
- Annotations: Annotations are notes that explain what is happening in each shot. They can provide context or additional information about the action taking place.
What Are The Different Types of Storyboards?

There are three main types of storyboards: linear, non-linear, and hybrid.
1. Linear Storyboards:
Linear storyboards are the simplest type of storyboard and are often used for short films or video ads. They consist of a series of panels representing each scene in the order in which it will occur.
2. Non-Linear Storyboards:
On the other hand, non-linear storyboards are more flexible and can be used for projects with more complex narratives. This type of storyboard can rearrange and add or remove scenes as needed.
3. Hybrid Storyboards:
Hybrid storyboards combine elements of both linear and non-linear storyboards to give you the best of both worlds. This type of storyboard is perfect for projects with a mix of simple and complex scenes.
Storyboarding Process For A Video

1. Create A Script
The first step is to create a script for your video. This will give you a clear idea of what needs to be included in the video and how you want it to flow, including the critical point you want to hit, describing transitions, voiceover, and more in great detail.
2. Add The Script To The Storyboard
Once you have your script, you will need to add it to the storyboard. Write the line of your script or dialogue corresponding to that scene under each rectangle. This step will help you visualize what’s happening in the scene and draw your storyboard more efficiently and faster.
3. Start Drawing
Once you understand what your video will look and feel like, you can start sketching out each scene. If you’re not confident in your drawing skills, don’t worry – there are plenty of online resources that can help you create professional-looking storyboards.
4. Add Notes
As you are storyboarding, you may want to add notes to each scene. This can help you remember what needs to happen in each scene, for example, if you want to see a zoom, a pan, a tilt, or a specific transition, and can be helpful when you are editing the video later on.
5. Review It
Once you have everything added to the storyboard, take a step back and review it. Make sure that everything flows together and that there are no gaps in the story.
Does Storyboarding Help?

While it may seem like a lot of work upfront, Storyboarding will actually save you time and hassle in the long term by helping you map out your vision for the project before you start filming. Want to learn more about the process of storyboarding for films, comics, and ads? Make sure to download ProApp and

